Upcycling! Sewing Stool
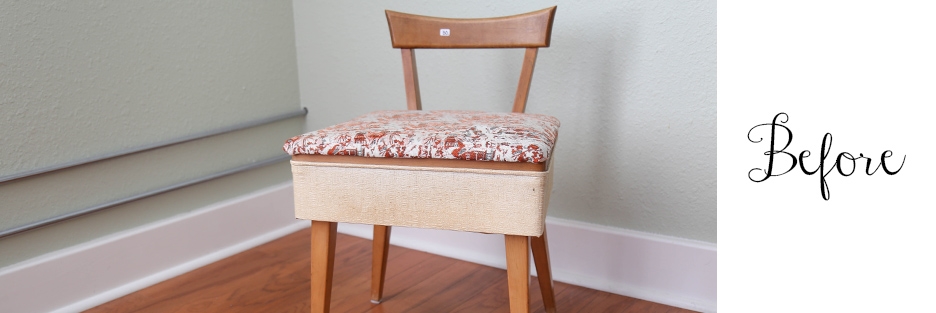
For our second upcycling project, we decided to give this old sewing chair an updated look for the office. We picked this piece up at a local estate sale for $30.
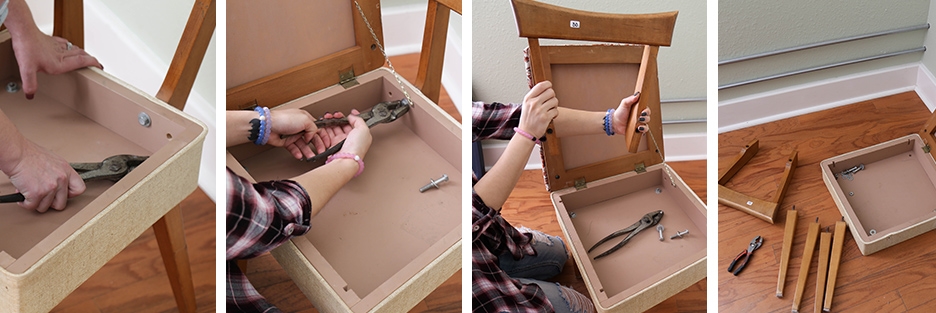
We started by disassembling the backs and legs from the chair. This was really easy to do, since it was held together by several bolts that just needed loosening.
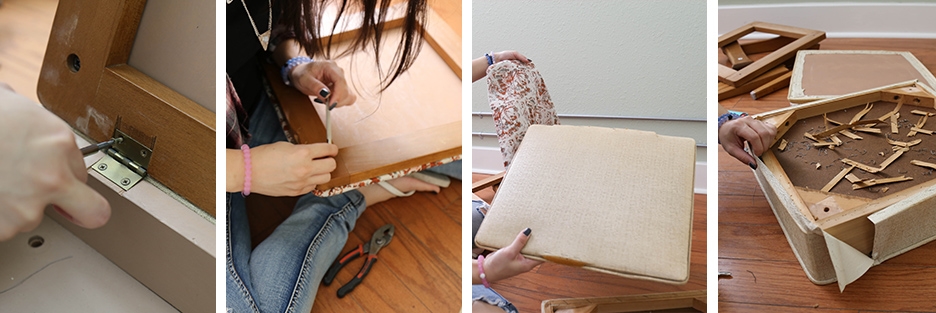
After the legs and back were removed, we needed to start removing the old upholstery from the chair. We removed the seat top frame from the bottom by unscrewing the hinges. The vinyl on the side was glued into place, but it was easily removed by prying back the fabric seams and pulling it from the wooden bottom. The seat cushion was held to the frame by four screws. Once the cushion was removed from the frame, we could remove the old flower print fabric by pulling up the staples that held it in place.
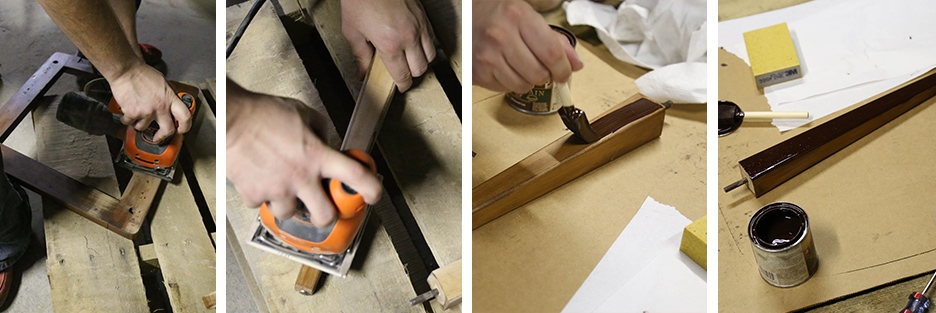
It was now time to sand and stain the wooden pieces of the chair. We used a small hand sander to help us with the sanding. We started with a rough grit to remove the original finish and moved to a finer grit to make it smoother. After all the parts were sanded, we cleaned them to remove the wood particles. Once the parts were clean, it was time to stain. We chose to use a dark stain called "Moorish Teak" for the project. It took several coats before we were able to get the color we were looking for.

Waiting for the stain to dry gave us plenty of time to start work on the cushion. Jess picked out this lovely geometric print at a local fabric store. We made a stencil from the the original chair cushion and cut the fabric to match. To adhere the fabric to the chair's top, we used a heavy duty staple gun. The key to getting a seamless look with the fabric was to stretch it tight as we stapled it to the chair.
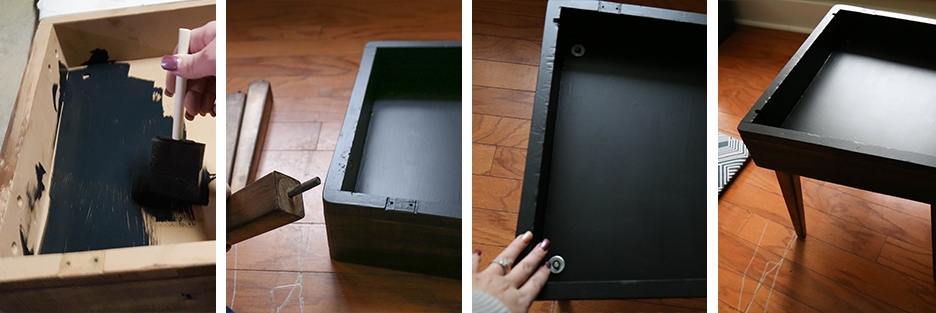
Once the stain had dried, we painted the inside of the bottom half of the chair black. After a little while, while we waited for the paint to dry, we were able to reattach the legs.
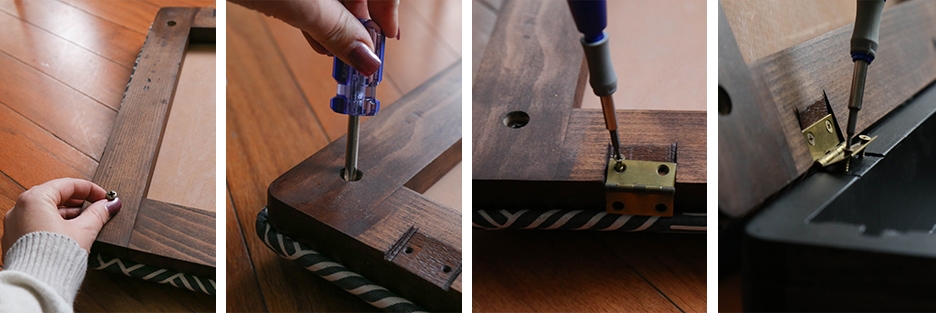
It was now time to reassemble the chair. We attached the cushion to the frame with the four mounting screws, then we reattached the cushion frame to the bottom using the original hinges. The back of the chair was easily reassembled by tightening the four bolts that held it in place.
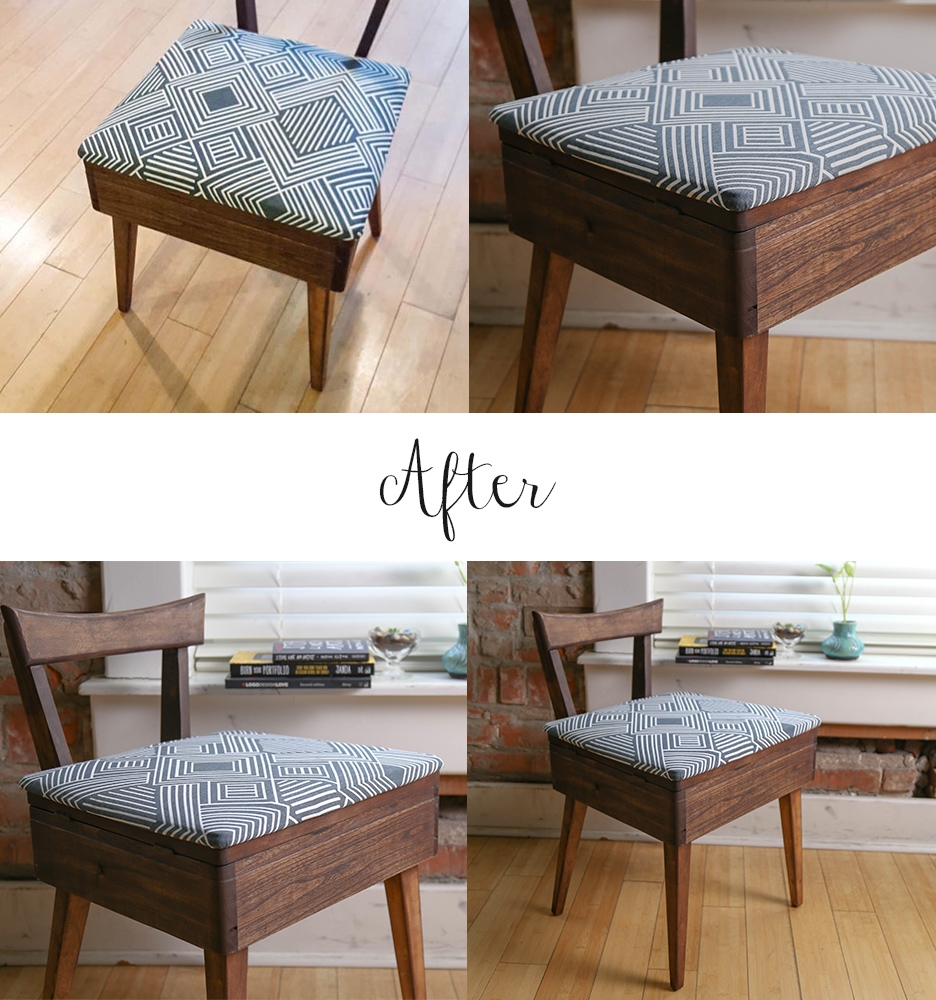
We were excited by the way the chair turned out once it was reassembled. The geometric fabric Jess picked out really set it off nicely in the office. It's going to go in the office design room for visitors to sit on while working on design projects! If you have a project you would like to share, send it to us at Upcycling@EstateSales.NET.