Need Help Adding a UPS Account?
Below is step by step instructions for creating a UPS account and adding it to the EstateSales.NET Marketplace.
In order to ship your EstateSales.NET Marketplace items across the country, you’ll need to sign up with Shippo, which we have integrated into the Marketplace. Shippo automatically adds the United States Postal Service to your carrier page, but you can easily add UPS as a carrier as well. After all, who doesn’t love options?

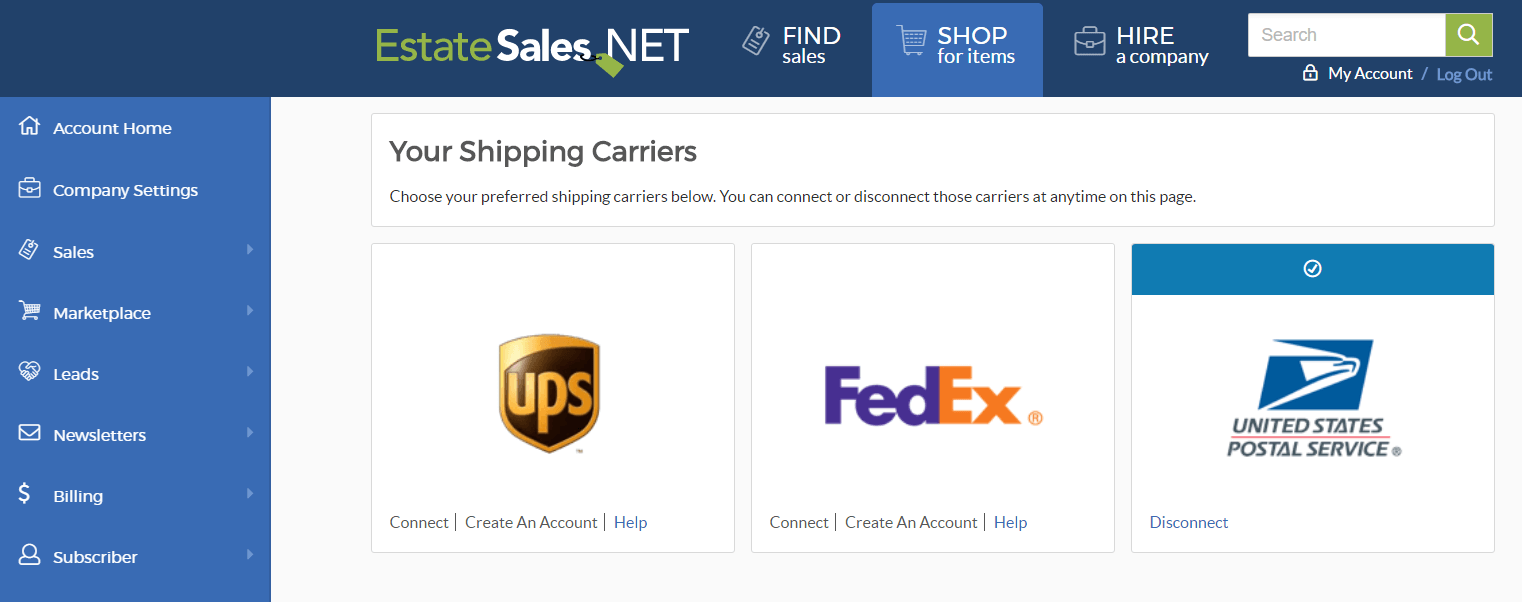
Step 1: Click "Create an Account"
Click “Company Settings” on your Marketplace sidebar, and then choose “Manage Shipping.” If you already have an account with UPS, you can click “Connect” and proceed. But if you do not have an account, you will need to create one by clicking “Create An Account.”
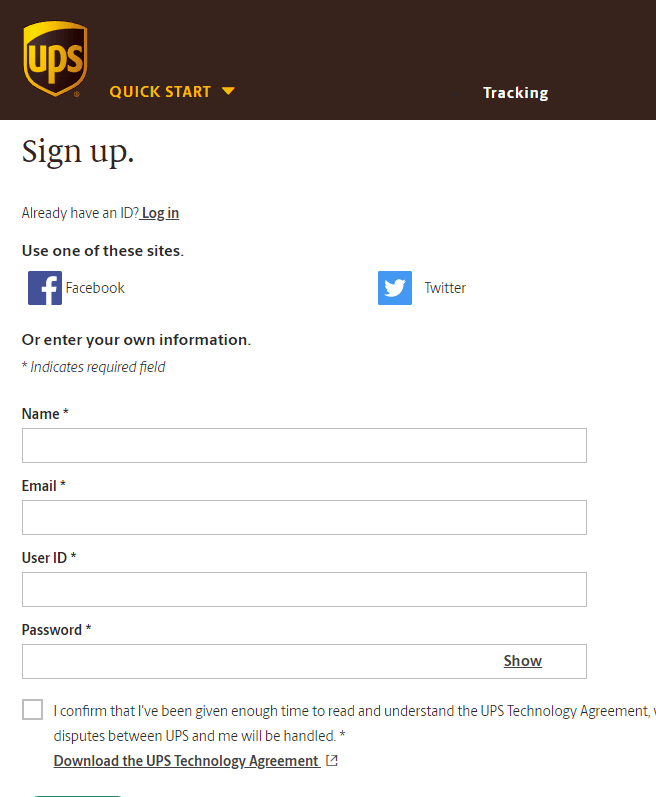
Step 2: Sign up on UPS
You will then be directed to the UPS sign up page. This account will be completely separate from your EstateSales.NET Marketplace account until you connect them later on in the process.
Step 3: Click continue on confirmation page.
Click “Continue” on the confirmation page, and you will be automatically logged into your account.

Step 4: Click on your name and then click on Overview
Next, click on your name on the right-hand corner of your screen, and choose “Overview.”

Step 5: Click Open a Payment Account and Fill Out Billing Info
Under “Payment Options,” choose “Open a Payment Account.” You will be prompted to provide billing information with UPS. Although shipping arrangements are integrated into the Marketplace with Shippo, the shipping payments and transactions are made through the carrier.

Step 6: Copy or write down your Account Number and User ID to use on EstatesSales.NET add carriers page
Finally, your account is ready to use! Copy or write down your account number and user ID—you’ll need it in order to add the carrier to your Marketplace account.

Step 7: Go Back to EstatesSales.NET add carriers page and click connect
Now that you officially have a UPS account, return to the “Manage Shipping” page on EstateSales.NET and click “Connect.”
Step 8: Add UPS account information
You’ll be prompted to enter your UPS account information, and agree to their terms of service. Once you’ve done that, you’ll have the option of using UPS as your shipping carrier whenever you sell an item on the Marketplace!
